Photos From Camera Are Too Orange – Here’s How to Fix It!
Fixing orange photos starts with adjusting your camera’s white balance for accurate color. Learn how to eliminate the orange tint through settings or editing tools.
In this article, we explore the common causes of orange-tinted photos and how to fix them. We cover how to adjust your camera’s white balance settings for accurate colors and offer post-processing tips to correct the orange tint. With these techniques, you can capture vibrant, true-to-life images in any lighting.
Why Do Photos Look Too Orange? photos from camera are too orange!

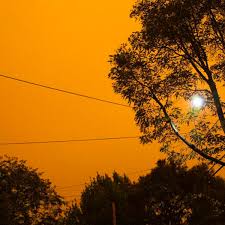
An orange or warm tint in your photos usually results from a mismatch between the lighting and your camera’s color settings. In photography, color balance is critical for making colors appear as they would in natural lighting. When there’s an imbalance, your images may look too warm (orange/yellow) or too cool (blue/green), depending on the setting. An overly orange photo can make skin tones look unnatural and reduce the overall quality of the image.
Understanding White Balance: The Key to Natural Colors
White Balance (WB) is a camera setting that adjusts how your camera perceives color based on the color temperature of the light in the environment. The goal of white balance is to make colors look natural, as if they’re lit by neutral daylight. Different lighting conditions have different color temperatures measured in Kelvin (K), and understanding these values is the first step to mastering white balance:
- Daylight/Sunlight: Around 5500–6500K
- Tungsten/Incandescent (Warm): Around 2500–3500K
- Fluorescent (Cool): Around 4000–5000K
- Overcast or Shade (Cooler): Around 7000–8000K
In warm environments like incandescent or tungsten lighting, a lower color temperature will appear orange, while natural daylight is more neutral. Adjusting your camera’s white balance setting allows you to tell the camera what kind of light it’s interpreting, which is why this setting is essential in avoiding unwanted color tints.
Common Causes of Orange Photos:
Knowing what causes your camera to capture orange images can help you take steps to prevent it in the future. Here are some of the most common causes:
- Incorrect White Balance Preset: If you set your camera to a daylight white balance in warm indoor lighting, it will interpret the light incorrectly, leading to an orange tint.
- Ambient Lighting: Indoor lighting from incandescent bulbs and candlelight can cast warm tones, which, if unadjusted, will lead to orange images.
- Shooting During Golden Hour: The hour right after sunrise and before sunset, known as the golden hour, casts a warm glow across subjects. This can add a natural warmth to photos but may look overly orange if not balanced out.
- Camera Profiles: Some cameras come with color profiles or “picture styles” that add extra warmth or saturation to photos, such as “Vivid” or “Portrait.” These can enhance color but may also introduce an unwanted orange cast if used in warm lighting.
Read More:http://Old Laptop Can’t Play YouTube Videos – And How to Fix It
How to Adjust White Balance on Different Cameras:
DSLR and Mirrorless Cameras:
Modern cameras come with multiple ways to adjust white balance. Here’s how to set it up:
- Auto White Balance (AWB): Most DSLRs and mirrorless cameras have an AWB mode that detects and adjusts the color balance automatically. This works in most situations, but it may struggle in extremely warm or mixed lighting conditions.
- White Balance Presets: For more accuracy, use presets like Tungsten (for indoor lighting), Fluorescent (for cooler artificial light), or Daylight (for outdoor settings). These are a quick way to correct color imbalance based on the lighting environment.
- Custom White Balance: For challenging lighting, use a white or gray card to manually set a custom white balance. This tells the camera to adjust for the exact lighting conditions, creating a much more accurate color profile.
Smartphone Cameras:
Many smartphones have built-in options to adjust white balance, though they may vary by model:
- Auto Mode: In most smartphones, Auto White Balance (AWB) is enabled by default and works in many scenarios.
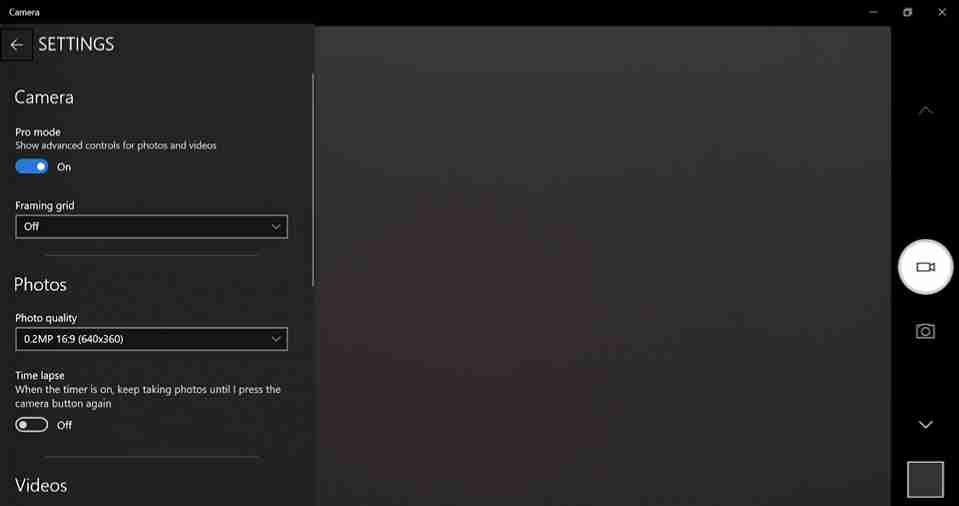
- Manual or Pro Mode: In manual mode, some smartphones allow you to select specific white balance settings. Try selecting Tungsten or Indoor modes for warm environments to reduce orange tones.
Tips for Adjusting Camera Settings to Avoid Orange Photos:

Follow these tips to get the best color balance in any lighting condition:
- Experiment with White Balance Settings: Don’t be afraid to toggle through different white balance settings to see which produces the most accurate color balance for your scene.
- Shoot in RAW Format: RAW files retain all color data, which allows for easier white balance adjustments in post-processing without losing quality. This is especially useful if you’re shooting in variable lighting conditions.
- Check Your Camera’s Display: After taking a few shots, review them on the camera’s display. Look for color accuracy and adjust settings as needed before continuing your shoot.
Lighting Conditions and Their Effect on Color Balance:
Different lighting types have specific color temperatures that affect how your camera perceives the scene. Here’s a quick guide to understanding these conditions:
- Natural Light: In most outdoor settings during the day, natural light offers a more balanced color temperature around 5500K. However, during golden hour, you may see a natural orange tint.
- Artificial Warm Lighting: Incandescent and tungsten lights have a color temperature around 3000K, making them very warm. To counter this, set your white balance to Tungsten or adjust the color temperature manually.
- Mixed Lighting: When shooting indoors with both natural and artificial light, a custom white balance is your best option. This allows you to adjust specifically for the unique lighting combination.
Step-by-Step Guide to Correct Orange Tint in Editing Software:
If you’ve already taken photos with an orange tint, you can correct this using photo editing software. Here’s a step-by-step guide:
Adobe Lightroom:
- Temperature Slider: Adjust the Temperature slider under White Balance. Move it to the left (cooler) to balance the orange tint.
- White Balance Presets: Use Lightroom’s built-in white balance presets to see if any automatically correct the color.
- Fine-Tune with Tint: Adjust the Tint slider to remove any greenish or magenta cast that may appear after temperature adjustments.
Read More:http://When Going to Another Country Will My Laptop Work – Essential Travel Tips
Adobe Photoshop:
- Color Balance Tool: Go to Image > Adjustments > Color Balance. Increase the blue channel to offset the orange tones.
- Selective Color Adjustment: Go to Image > Adjustments > Selective Color and reduce yellow and red in the highlights and midtones to balance the warmth.
Mobile Editing Apps (e.g., Snapseed, VSCO):
- Temperature Tool: Adjust the temperature slider in the “White Balance” tool to cool down the photo.
- Advanced Color Adjustment: Many apps have tools to specifically target individual colors, allowing you to adjust reds and yellows if needed.
Best Practices for Achieving Consistent Color Accuracy:
Finally, here are some tips to ensure your photos have accurate colors each time:
- Regularly Check White Balance Settings: Switching between environments often? Regularly check that your white balance settings match the lighting for each new location.
- Use a Gray Card for Custom White Balance: For challenging lighting or professional shots, a gray card helps create a custom white balance that improves color accuracy.
- Shoot in RAW: RAW format gives you the flexibility to adjust white balance in editing without any quality loss. This is particularly helpful when you’re unsure of lighting.
Practice and Experiment: Becoming familiar with how lighting and white balance interact takes practice. Test your camera settings in different conditions to find what works best for you.
FAQ’s
1. Why are my photos too orange?
Orange photos are typically caused by incorrect white balance settings, often due to warm lighting or mismatched presets.
2. How do I fix orange photos in my camera?
Adjust your camera’s white balance to match the lighting conditions (e.g., Tungsten for indoor lighting) or use a custom white balance setting.
3. What lighting causes orange photos?
Artificial warm lighting, such as incandescent or tungsten bulbs, often causes an orange tint in photos.
4. Can I fix orange photos after taking them?
Yes, you can adjust the white balance in post-processing software like Lightroom or Photoshop to correct the orange tint.
5. How can I avoid orange photos in the future?
Regularly check and adjust your white balance settings based on the lighting conditions, and consider shooting in RAW for more flexibility in editing.
Conclusion: photos from camera are too orange!
If your photos are coming out too orange, remember that this is a common issue and easy to correct with a few simple adjustments. From understanding how white balance works to making the necessary adjustments in-camera or during post-processing, you’ll be able to capture images with natural, balanced colors. By applying these techniques, you can take your photography to the next level with colors that truly represent your scene.


