How To Use Backblaze To Switch Laptops – A Guide to Using Backblaze!
Switch laptops using Backblaze by backing up your old device to the cloud and restoring data on your new one. Follow our guide for a smooth transition.
In this article, we guide you through using Backblaze to switch laptops seamlessly. You’ll learn how to back up your old laptop’s data to the cloud and restore it on your new device. We also cover essential tips for ensuring a smooth transition without losing important files.
Why Use Backblaze for Switching Laptops:
Switching laptops involves more than just copying files from one machine to another. There are settings, configurations, and in many cases, hidden system files or backups that need to be transferred to your new laptop. Here’s why Backblaze is an excellent choice for this task:
- Continuous and Automatic Backup: Unlike manual transfers using external drives, Backblaze automatically backs up your files in real time. You don’t have to remember to back up or worry about missing any files.
- Cloud-Based Flexibility: Since your data is stored in the cloud, you can access it from anywhere, anytime. This means even if you’re without your old laptop, you can still restore your files onto the new device.
- No Limits on Backup Size: Many backup solutions charge extra for larger file sizes or storage needs, but Backblaze offers unlimited storage, so you can back up everything—no matter how large your files or directories are.
- Easy Restoration Options: Backblaze offers multiple restoration methods (downloadable ZIP files, USB drives by mail, etc.), making it easy to get your data back in the way that works best for you.
Setting Up Backblaze on Your Old Laptop:
Before you switch laptops, it’s essential to ensure that your old laptop is fully backed up. Follow these steps to set up Backblaze on your current laptop and back up your data.
Step-by-Step Instructions:
- Download Backblaze: If you haven’t done so yet, go to Backblaze’s website and download the application for your operating system.
- Create or Sign In to Your Account: You’ll need an active Backblaze account to start backing up your files. If you don’t have one, create an account during the installation process.
- Install the Software: Follow the installation prompts and choose default settings unless you have specific preferences for where Backblaze should be installed.
- Initial Configuration: Once the software is installed, it will automatically start scanning your system for files to back up. This includes documents, media, and application data.
- Exclude Certain Files: If there are files you don’t want to be backed up (for example, very large files you don’t need on your new laptop), you can exclude them by navigating to the “Settings” tab.
Customizing Your Backups: Important Settings to Consider:
Backblaze’s automatic configuration works for most users, but there are a few settings you may want to customize to ensure your data is backed up efficiently:
- File Exclusions: By default, Backblaze backs up all user-generated data, but you can choose to exclude certain file types, such as large video files or system files. This can save bandwidth and speed up your initial backup.
- Scheduling: While Backblaze continuously backs up your files, you can choose to schedule backups at specific times (e.g., overnight) to avoid performance slowdowns while you work.
- File Versioning: Backblaze keeps old versions of your files for 30 days. This feature can be handy when transitioning laptops, as you can restore older versions of documents if needed.
4. Backing Up Your Data: Ensuring a Complete Backup
Before you make the switch, it’s essential to confirm that all your data is backed up correctly. Follow these steps to ensure your backup is complete:
- Check Backup Progress: Open the Backblaze application and click on the “Overview” tab. Here, you’ll see the status of your backup, including the percentage completed.
- Pause or Adjust Upload Speed: If your backup is taking too long, you can pause it or adjust the upload speed to suit your internet connection. Faster speeds mean quicker backups, but they may also affect your overall network performance.
- Verify Data on the Cloud: Go to the Backblaze website, log into your account, and check which files have been backed up. You can access your backed-up files and folders to ensure everything is in place.
Tip: Large initial backups can take time, especially if you have a lot of data. It’s a good idea to initiate the backup well in advance of switching laptops, giving Backblaze plenty of time to complete the process.
Preparing Your New Laptop: Setting Up for Data Restoration:
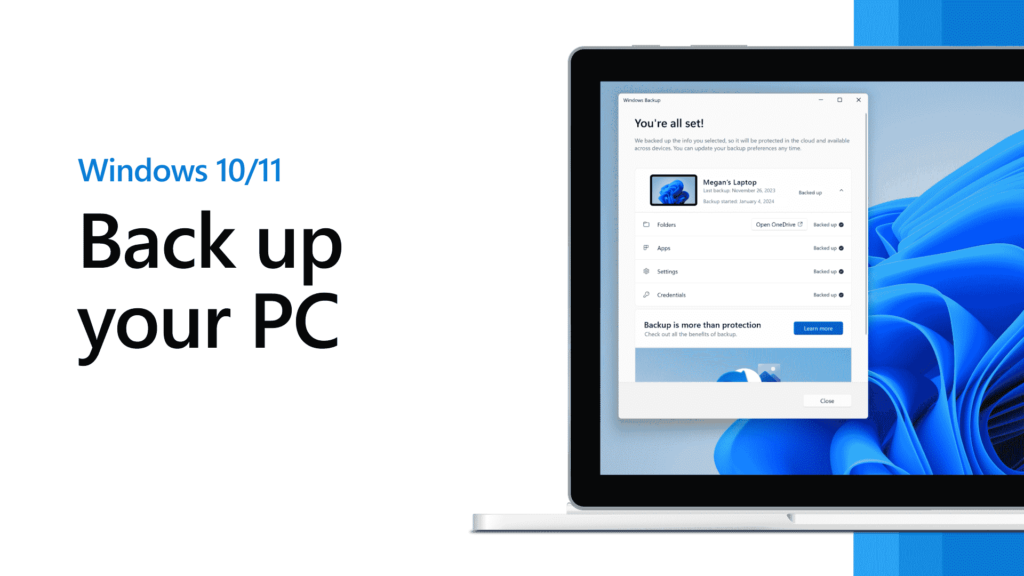
Once your old laptop is fully backed up, it’s time to prepare your new machine to receive the data. Here’s how to get your new laptop ready for the restoration process:
- Download Backblaze on the New Laptop: As with the old laptop, visit the Backblaze website to download and install the software on your new laptop.
- Sign In to Your Backblaze Account: Use the same account credentials you used on your old laptop to access your cloud backup.
- Choose Your Restoration Method: Backblaze offers multiple ways to restore data (as outlined in the next section). Choose the one that best fits your situation.
Restoring Data to Your New Laptop
When your new laptop is ready, it’s time to transfer your files. Backblaze provides three methods for restoring your data, each suited to different needs:
Downloading a ZIP File:
- Go to your Backblaze account on the website.
- Select the files and folders you want to restore.
- Backblaze will compress your selection into a ZIP file, which you can then download to your new laptop.
- This method is ideal if you need quick access to certain files, but for larger backups, it may take a while depending on your internet speed.
USB Flash Drive or Hard Drive by Mail:
- If your backup contains a significant amount of data, you can order a physical USB drive or hard drive from Backblaze. They’ll ship it to you, and once you receive it, you can connect it to your new laptop and copy the files over.
- This is the best option if you have slow internet or need to restore a massive amount of data.
Web Download:
- You can restore files directly from Backblaze’s web interface, allowing you to select individual files or folders and download them as needed.
- This is ideal for quickly grabbing essential files to get started on your new laptop.
Post-Restoration Setup: Verifying Data Integrity
After restoring your files, take the following steps to ensure everything transferred correctly:
- Check Key Files: Verify that essential documents, photos, and work files have all been restored properly. Open a few key files to ensure they work as expected.
- Reinstall Software: While Backblaze restores your data, you’ll need to reinstall any applications and software programs manually. Ensure you have the necessary licenses and keys for paid software.
Read More : http://Can Truenas Run On A Laptop – Everything You Need to Know!
Reinstalling Backblaze and Continuing Protection:
Once your data is safely restored, reinstall Backblaze on your new laptop to ensure continuous protection. Here’s what to do:
- Reinstall Backblaze: If you haven’t already, download and install Backblaze on your new laptop.
- Sign In and Start a New Backup: Log into your account, and Backblaze will recognize your new device. It will automatically start backing up your files, providing the same continuous protection as on your old laptop.
Additional Tips for a Smooth Laptop Transition:
- Internet Speed Considerations: If you’re restoring large files or a significant amount of data, a fast and stable internet connection will make the process smoother. For slower connections, you may want to use Backblaze’s USB drive option.
- Selective File Restoration: If you don’t need all your files immediately, consider restoring only the most important ones first. This can speed up your transition to the new laptop, letting you get back to work faster.
- Backup External Drives: If you use external drives for additional storage, make sure they’re also backed up in Backblaze
FAQ’s
- How do I back up my old laptop using Backblaze?
Install Backblaze, sign in to your account, and let it automatically back up your files in the background.
- How can I restore files to my new laptop from Backblaze?
Install Backblaze on your new laptop, log in to your account, and restore your files via ZIP download, USB drive, or direct download from the web.
- Can I exclude files from the backup when using Backblaze?
Yes, you can customize your backup by excluding certain files or folders in Backblaze’s settings.
- What options are available for large data restoration?
For large backups, Backblaze offers the option to send you a USB flash drive or hard drive by mail.
- Do I need to reinstall Backblaze on the new laptop after restoring my files?
Yes, to ensure continuous protection, reinstall Backblaze on your new laptop and set up a fresh backup.
conclusion:
Switching laptops with Backblaze is a seamless process that ensures your data is safely backed up and restored. By backing up your old laptop to the cloud and restoring files on your new device through Backblaze’s user-friendly options, you avoid the risk of losing important data. With continuous backups and flexible restoration methods, Backblaze makes transitioning between laptops easy and secure.

