How To Take A Screenshot On A Dell Laptop – A Complete Guide!
Learn how to easily take screenshots on your Dell laptop with keyboard shortcuts and built-in tools like Snipping Tool and Snip & Sketch.
In this article, we guide you through various methods for taking screenshots on your Dell laptop, including keyboard shortcuts and built-in tools like Snipping Tool and Snip & Sketch. Whether you need a full-screen capture or want to select a specific area, we cover all the options. Get step-by-step instructions to make screenshotting quick and easy on your Dell laptop!
Using Keyboard Shortcuts for Quick Screenshots:
The easiest and quickest way to take a screenshot on a Dell laptop is by using built-in keyboard shortcuts. Dell laptops, like most Windows devices, support several screenshot functions through simple key combinations. Here are the most common ones:
a) Full-Screen Screenshot Using the Print Screen (PrtSc) Key:
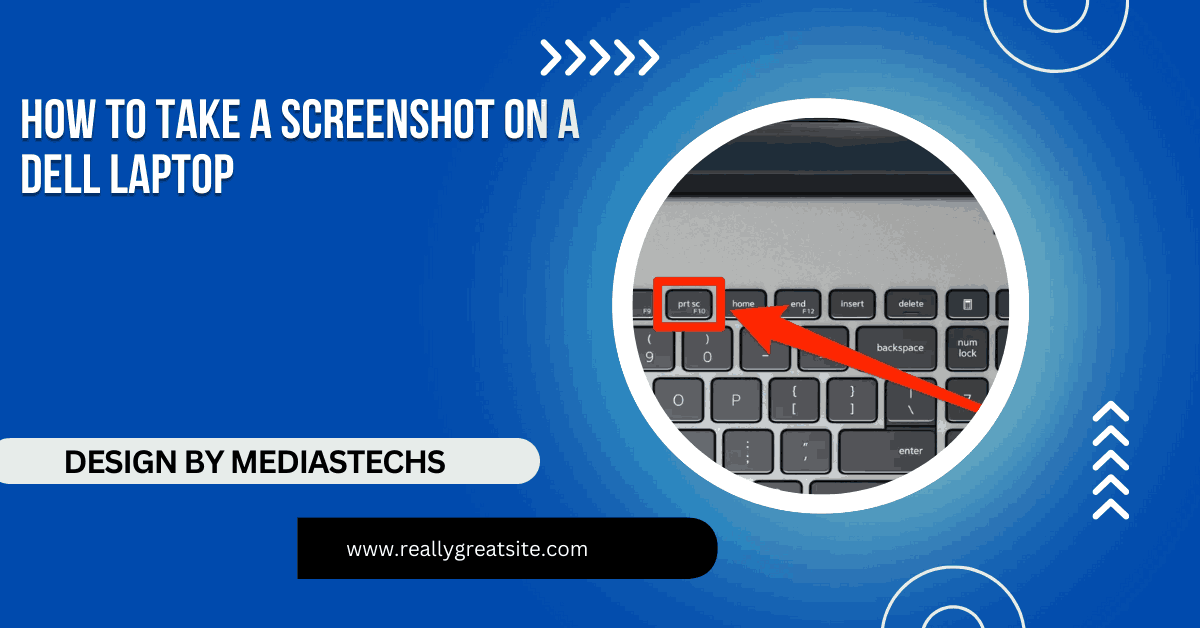
The Print Screen (often labeled as PrtSc) key on your keyboard is a powerful tool for taking full-screen screenshots. Here’s how you can use it:
- Press the PrtSc Key: When you press this key, it will capture the entire screen, including the taskbar, desktop icons, and open windows. However, the image is copied to your clipboard and not saved automatically.
- Paste the Screenshot into an Image Editor: To save the screenshot, open any image editor, like Microsoft Paint, and paste the screenshot by pressing Ctrl + V. After pasting, you can crop, edit, and save the image.
b) Screenshot of the Active Window Only:
If you only want to capture the currently active window (such as a web browser or document), use the following shortcut:
- Press Alt + PrtSc: This will capture only the active window. Like the full-screen screenshot, it will be copied to your clipboard, and you will need to paste it into an image editor to save.
c) Full-Screen Screenshot with Automatic Saving (Windows + PrtSc):
If you prefer a method where the screenshot is saved automatically, this method is ideal. Here’s how it works:
- Press Windows Key + PrtSc: This will capture the entire screen and automatically save the screenshot to your Pictures folder. You can find it in the Screenshots subfolder. The file will be named with a default format like Screenshot (1).png.
Read More:Can My Fitness Tracker D36 Work On My Pc Laptop – A Complete Guide
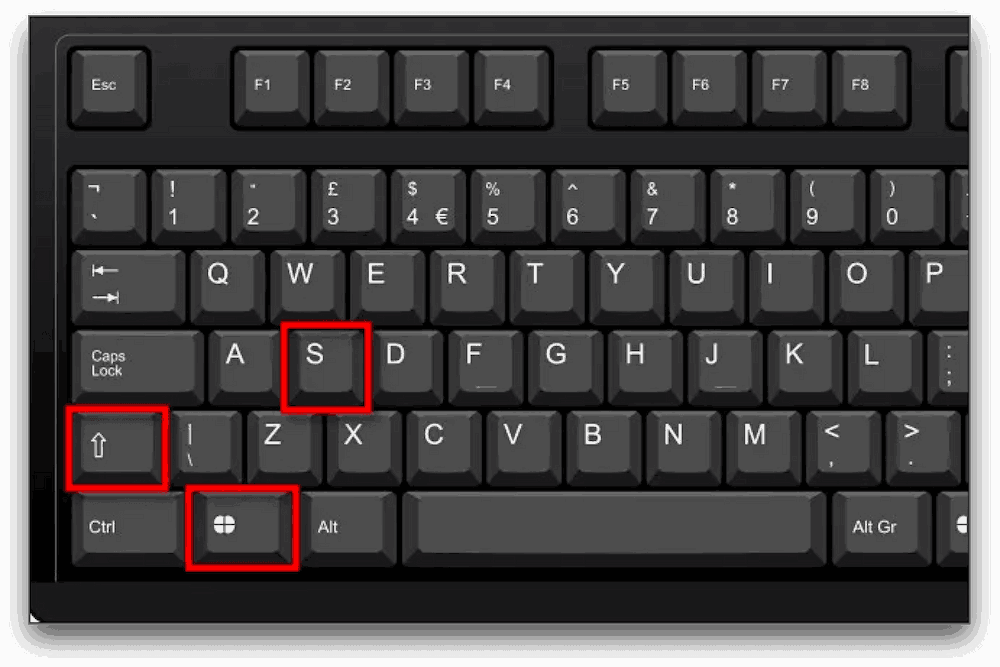
d) Capturing a Selected Area (Windows + Shift + S):
In Windows 10 and 11, you can also capture a specific area of your screen. This is useful if you want to take a screenshot of only a portion of the screen. Here’s how to do it:
- Press Windows Key + Shift + S: After pressing these keys, your screen will dim, and you’ll see a crosshair cursor. You can click and drag to select the area you want to capture.
- Paste the Screenshot: Once you release the mouse button, the screenshot will be copied to your clipboard. Open an image editor or document and press Ctrl + V to paste and save the image.
Using Snipping Tool or Snip & Sketch for More Control:
For users who want more flexibility and options when taking screenshots, Snipping Tool or the newer Snip & Sketch app (available in Windows 10 and 11) are excellent tools. These applications allow you to capture screenshots with more control over the area and format of the image.
a) Snipping Tool:
The Snipping Tool is a legacy tool in Windows that provides basic screenshot capabilities. Here’s how to use it:
- Open the Snipping Tool: Type “Snipping Tool” in the Windows search bar and select the app.
- Select the Type of Snip: Once the tool is open, click on the New button. You can choose from several snip types:
Freeform Snip – Draw any shape you want to capture.
Rectangular Snip – Capture a rectangular area of the screen.
Window Snip – Capture a specific window.
Full-Screen Snip – Capture the entire screen.
- Take the Screenshot: Once you’ve selected your snip type, drag to select the area or window you want to capture. The screenshot will be saved to the clipboard, and you can paste it into an editor or directly save it from Snipping Tool.
b) Snip & Sketch (Windows 10 and 11):
The Snip & Sketch tool is a more modern alternative that offers enhanced features. Here’s how you can use it:
- Open Snip & Sketch: You can launch the app by pressing Windows Key + Shift + S or typing “Snip & Sketch” in the search bar and selecting the app.
- Choose the Screenshot Mode: After launching Snip & Sketch, click on New to begin your screenshot. Just like with Snipping Tool, you can choose from rectangular, freeform, window, or full-screen snips.
- Edit and Save: After taking the screenshot, Snip & Sketch opens the image in an editor where you can annotate and crop before saving the image to your device.
Using the Xbox Game Bar for Screenshots in Games or Full-Screen Apps:
For gamers or those who use full-screen apps, Xbox Game Bar offers a great solution to take screenshots without leaving your game or app. Here’s how to use it:
- Press Windows Key + G to open the Xbox Game Bar.
- Click the Camera Icon in the Game Bar’s interface to take a screenshot. Alternatively, you can use the default keyboard shortcut Windows Key + Alt + PrtSc to capture the screenshot.
Find the Screenshot in Your Videos Folder: By default, screenshots taken via Xbox Game Bar are saved in the Videos folder under Captures.
Third-Party Screenshot Tools for Advanced Features:
While Windows provides several built-in methods to capture your screen, you might want more advanced options like automatic editing, sharing, or cloud storage. In that case, third-party screenshot tools can offer additional functionality.
Here are a few popular tools:
- Lightshot: A free, user-friendly tool that allows you to capture selected areas, annotate, and share screenshots instantly.
- Greenshot: A powerful screenshot tool that offers various capture options, editing tools, and integration with cloud services.
- Snagit: A professional-grade tool that allows you to capture, edit, and manage screenshots and screen recordings. It is ideal for users who need advanced editing and organization options.
Read More:Why Doesn’t My Mac Laptop Sleep Properly 0 Percent Battery – Issues at 0 Percent Battery Explained!
Troubleshooting: What If Your Screenshot Isn’t Working?
If you’re having trouble taking screenshots on your Dell laptop, here are a few common solutions:
- Ensure the Print Screen Key Works: Sometimes, the Print Screen key might not work due to system settings or keyboard issues. Try pressing it in combination with the Fn key.
- Update Your Drivers: If you’re using third-party screenshot tools and they aren’t working, try updating your video drivers or the software itself.
- Check for Software Conflicts: If another program is interfering with your screenshot function, try disabling or uninstalling conflicting software.
FAQ’s
1. How do I take a full-screen screenshot on a Dell laptop?
Press the PrtSc key, and the screenshot will be copied to your clipboard. Paste it in an image editor to save.
2. Can I capture just the active window?
Yes, press Alt + PrtSc to capture only the active window and paste it into an image editor.
3. How do I capture a specific area of the screen?
Press Windows Key + Shift + S to select and capture a specific area of your screen.
4. How can I automatically save screenshots on my Dell laptop?
Press Windows Key + PrtSc, and the screenshot will be automatically saved in the Pictures > Screenshots folder.
5. Can I take a screenshot while playing a game on my Dell laptop?
Yes, press Windows Key + G to open the Xbox Game Bar, then click the camera icon to take a screenshot.
Conclusion:
Taking screenshots on a Dell laptop is quick and easy with the many built-in tools and keyboard shortcuts available. Whether you need a full-screen capture, a selected area, or want to annotate your image, there are multiple ways to get the job done. From the simple Print Screen key to advanced tools like Snip & Sketch or third-party apps, you can choose the method that works best for you.

