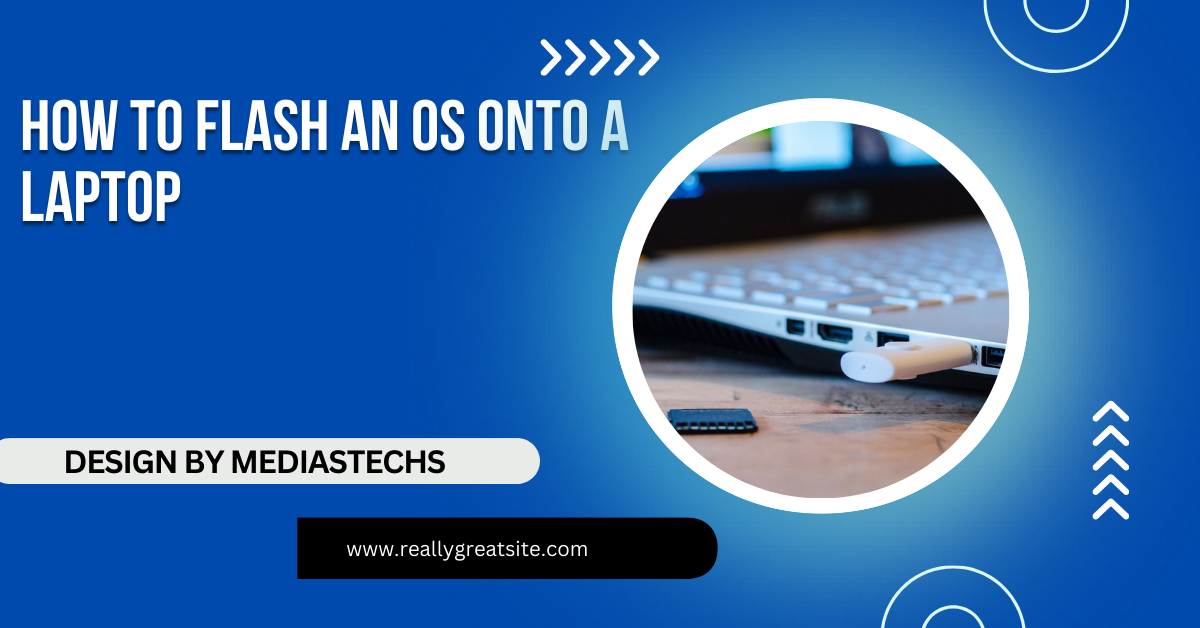
How to Flash a OS on to a Laptop – A Comprehensive Step-by-Step Guide!
Learn how to flash an operating system onto your laptop with this guide. Discover step-by-step instructions and troubleshooting advice to successfully install a new OS.
In this article, we provide a detailed, step-by-step guide on how to flash an operating system onto your laptop. You’ll learn about the necessary preparations, tools, and processes involved in installing a new OS. Additionally, we cover troubleshooting tips to ensure a smooth installation experience.
Understanding the Basics of Flashing an OS:

Flashing an OS refers to the process of installing or updating the software that controls your laptop. This can involve replacing the existing operating system or installing a fresh copy. Popular operating systems for laptops include Windows, macOS, and various distributions of Linux.
Why Flash an OS?
- Performance Improvement: Newer versions of operating systems often come with performance optimizations that can make your laptop run faster and smoother. Older operating systems may struggle with newer software, leading to slowdowns.
- Troubleshooting: If your laptop is experiencing issues such as crashes, freezes, or unresponsive applications, flashing a new OS can help resolve bugs and other software-related problems that may be affecting system stability.
- Upgrade: Switching to a newer or different operating system can provide new features, functionalities, and security improvements. For example, upgrading from Windows 10 to Windows 11 can offer a more modern interface and improved multitasking features.
- Customizability: For tech enthusiasts, Linux distributions offer extensive customization options that allow you to tailor the OS to your specific needs. You can choose from various desktop environments, software packages, and themes.
- Privacy and Security: Some users may choose to switch to an OS known for better privacy practices, such as Linux, to avoid data collection practices of commercial operating systems.
Prerequisites for Flashing an OS:
Before you begin the flashing process, ensure you have the following:
- Backup Your Data: Flashing an OS will often erase all data on your hard drive. Back up any important files to an external drive or cloud storage. Consider using backup software for ease and reliability.
- A USB Drive: You’ll need a USB drive (at least 8GB) to create a bootable OS installer. Ensure the USB drive is empty or that you have copied its contents elsewhere, as it will be formatted during this process.
- OS Installation Media: Download the OS you wish to install from the official website. Ensure it’s the correct version for your laptop’s architecture (32-bit or 64-bit).
- A Reliable Laptop: Make sure your laptop is charged or plugged in to avoid interruptions during the installation process. It’s best to work in a stable environment to prevent sudden power loss.
- Internet Connection: A stable internet connection can be useful for downloading the OS, any necessary drivers, and updates during the installation process.
Read More :http://Can Viero One Touch Pair to a Laptop Computer A Step-by-Step Guide
Step-by-Step Guide to Flashing an OS onto a Laptop:
Step 1: Download the OS
- Go to the official website of the OS you want to install (e.g., Microsoft for Windows, Apple for macOS, or Ubuntu for Linux).
- Download the appropriate version for your laptop’s architecture (32-bit or 64-bit). Most modern laptops use 64-bit versions, but it’s always good to verify.
Step 2: Create a Bootable USB Drive
- Format the USB Drive:
- Insert the USB drive into your laptop.
- Open Disk Management (Windows) or Disk Utility (macOS).
- Format the USB drive to FAT32 (recommended for compatibility with most systems) or NTFS (if you’re only using it with Windows).
- Use a Tool to Create Bootable Media:
- For Windows: Use tools like Rufus or Windows USB/DVD Download Tool.
- For Linux: Use Etcher, UNetbootin, or the Startup Disk Creator.
- Follow the Tool Instructions:
- Open your chosen tool.
- Select the OS image you downloaded.
- Choose your USB drive and create the bootable drive. This process may take several minutes.
Step 3: Access BIOS/UEFI Settings
- Restart your laptop and enter BIOS/UEFI settings. This usually involves pressing a key like F2, F10, Del, or Esc during startup (the specific key can vary by manufacturer).
- Navigate to the Boot Options or Boot Order menu. Look for the section that controls which devices your laptop tries to boot from first.
- Set the USB drive as the primary boot device. Ensure to save your changes before exiting the BIOS/UEFI settings.
Step 4: Boot from the USB Drive
- Save your changes and exit BIOS/UEFI. Your laptop should now restart.
- If configured correctly, your laptop should boot from the USB drive. If prompted, press any key to start the installation.
Step 5: Install the OS
- Follow the on-screen instructions to install the operating system.
- Choose your language, time, and keyboard preferences.
- When prompted, select the option to install the OS (usually “Install Now”).
- Partitioning:
- If prompted, you can choose to delete existing partitions to install a fresh copy or select a specific partition to install the OS.
- Be cautious: This will erase all data on the selected partition. If you’re unsure, create a new partition instead of deleting existing ones.
- Complete the installation process. Your laptop may restart multiple times during this stage. Follow any additional prompts that may appear.
Step 6: Configure Your OS
- After installation, follow the prompts to configure your new operating system.
- Create a user account with a strong password.
- Set up privacy settings to your liking, including data sharing preferences.
- Install Necessary Drivers and Updates:
- Once the OS is installed, check for and install any necessary drivers. For Windows, visit the manufacturer’s website for the latest drivers for your hardware (graphics card, network adapter, etc.).
- Run system updates to ensure you have the latest security patches and features.
Step 7: Customize Your Environment
- Install Applications: Start installing the applications you need for work, study, or personal use. This could include productivity tools, web browsers, and media players.
- Adjust Settings: Spend some time customizing the settings according to your preferences. This could include adjusting display settings, setting up notifications, and configuring power management options.
- Set Up Backups: Consider setting up a backup solution to safeguard your data in the future. This could be cloud storage, an external drive backup, or a combination of both.
Troubleshooting Common Issues:
- Laptop Doesn’t Boot from USB: Double-check your BIOS settings to ensure the USB drive is set as the first boot device. Try reconnecting the USB drive or using a different USB port if issues persist.
- Installation Freezes or Fails: Ensure the installation media is correctly created and the USB drive is functional. If the installation fails, verify the integrity of the downloaded OS file; a corrupted download can cause issues.
- Missing Drivers: After installation, you may need to manually install drivers. Check the laptop manufacturer’s website for the latest drivers. For Linux users, community forums can be invaluable for finding drivers specific to your hardware.
- Activation Issues: If you’re installing Windows, ensure you have a valid product key for activation. Follow the on-screen prompts to enter your key after installation.
FAQ’s
- What is flashing an OS?
Flashing an OS involves installing or updating the software that runs on your laptop, which can improve performance or resolve issues.
- Do I need to backup my data before flashing an OS?
Yes, it’s essential to back up your data, as flashing an OS can erase all existing files on the hard drive.
- What tools can I use to create a bootable USB drive?
You can use tools like Rufus, Etcher, or the Windows USB/DVD Download Tool to create a bootable USB drive.
- How do I access BIOS/UEFI settings?
Restart your laptop and press a specific key (like F2, F10, Del, or Esc) during startup to enter BIOS/UEFI settings.
- What should I do if my laptop doesn’t boot from the USB drive?
Check your BIOS settings to ensure the USB drive is set as the first boot device and try reconnecting the USB or using a different port if necessary.
Conclusion:
Flashing an operating system onto a laptop can greatly enhance its performance and usability. By following this comprehensive guide, you’ll be able to navigate the process with confidence. Always ensure that you back up your data and carefully follow each step to avoid any issues. With a little patience and preparation, you’ll have a fresh, fully functional operating system ready for use.


