How To Connect Printer Via Laptop Ethernet Cable Without Router – A Step-By-Step Guide!
Learn how to connect your printer directly to your laptop using an Ethernet cable. Follow our step-by-step guide for a secure and fast printing setup.
In this article, we explain how to connect your printer directly to a laptop using an Ethernet cable without a router. You’ll learn step-by-step how to configure network settings, assign IP addresses, and add the printer for seamless operation. Perfect for secure, reliable printing without Wi-Fi!
Why Connect a Printer Directly via Ethernet Cable?
Before diving into the technical steps, let’s examine why this method might be preferable:
- Stable Connection: Unlike wireless setups that can suffer from interference or dropouts, a wired Ethernet connection ensures stability.
- No Additional Hardware Needed: By eliminating the router, you reduce the cost and complexity of the setup.
- Security: A direct Ethernet connection is more secure, as it avoids exposure to external networks.
- Speed: Ethernet connections are faster and more reliable for large print jobs, particularly when compared to wireless alternatives.
This approach is also helpful when dealing with older printers that may not support Wi-Fi connectivity.
Things You Need to Get Started:
To establish a successful connection between your printer and laptop, you’ll need the following:
- Ethernet Cable: Ensure you have a functional RJ45 cable.
- Laptop with Ethernet Port or Adapter: Modern laptops often lack dedicated Ethernet ports, so a USB-to-Ethernet adapter may be required.
- Printer with Ethernet Port: Check the printer’s specifications or user manual to confirm Ethernet support.
- Printer Driver Software: Ensure you have the appropriate driver installed on your laptop for the printer to function correctly.
Read More:http://Hp Envy Laptop – A Comprehensive Breakdown!
Step-by-Step Guide to Connecting Your Printer Without a Router:
Step 1: Preparing Your Printer
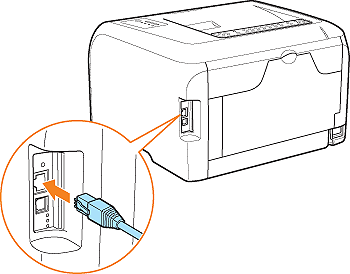
- Locate the Ethernet Port: Check the back or side of your printer for the Ethernet port.
- Power On the Printer: Plug the printer into a power outlet and turn it on.
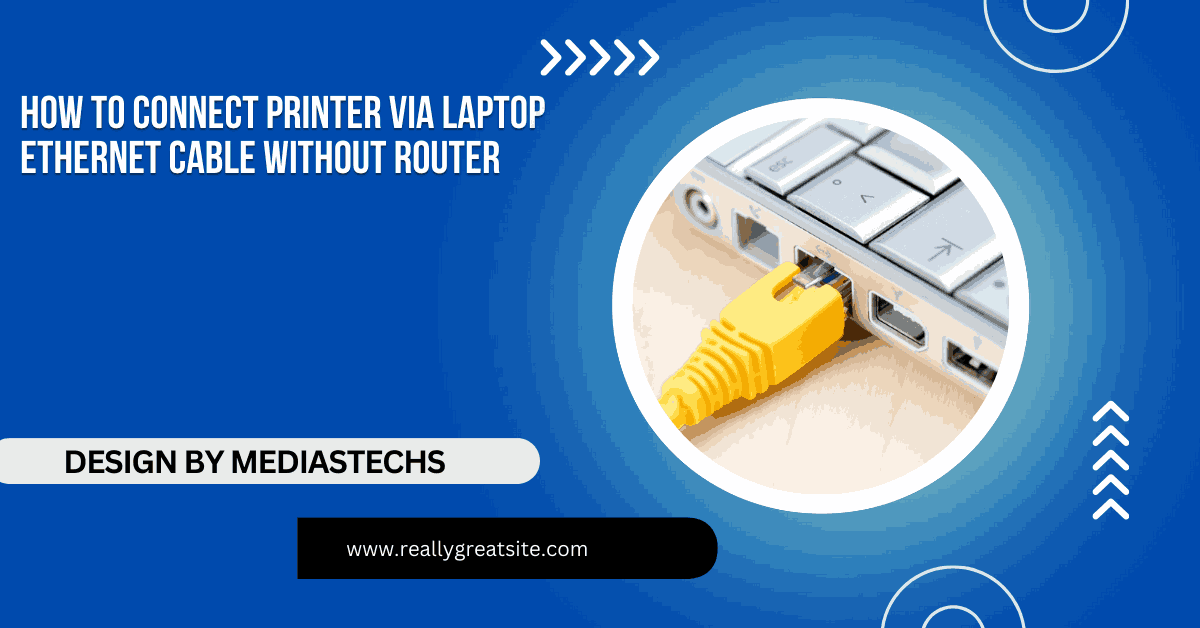
- Connect the Ethernet Cable: Insert one end of the Ethernet cable into the printer’s Ethernet port. Ensure a secure connection.
Step 2: Connecting the Printer to Your Laptop
- Insert the other end of the Ethernet cable into your laptop’s Ethernet port.
- If your laptop lacks an Ethernet port, connect the USB-to-Ethernet adapter to a USB port on your laptop, then attach the Ethernet cable to the adapter.
Step 3: Configuring Network Settings
To enable communication between your laptop and printer, you’ll need to set up the network configuration manually.
For Windows Users:
1. Open the Control Panel and navigate to Network and Sharing Center.
2. Click on Change Adapter Settings in the left-hand menu.
3. Locate the Ethernet connection, right-click it, and select Properties.
4. Highlight Internet Protocol Version 4 (TCP/IPv4) and click Properties.
5. Choose Use the following IP address and enter:
- IP Address: 192.168.1.2
- Subnet Mask: 255.255.255.0
6. Leave other fields blank, then click OK.
For Mac Users:
1. Go to System Preferences and open Network.
2. Select Ethernet from the list on the left-hand side.
3. Click Advanced, then go to the TCP/IP tab.
4. Choose Manually under Configure IPv4 and input the following:
- IP Address: 192.168.1.2
- Subnet Mask: 255.255.255.0
5. Click Apply to save the changes.
Step 4: Assigning an IP Address to the Printer
Your printer also needs an IP address within the same range as your laptop. This can typically be done via the printer’s control panel:
1. Access the Network Settings menu on your printer.
2. Assign an IP address, such as 192.168.1.3. Ensure the subnet mask is 255.255.255.0.
3. Save the settings and exit the menu.
Refer to your printer’s user manual if you encounter difficulties locating the network settings.
Read More:http://How To Pair Airpods To Laptop – A Complete Step-By-Step Guide!
Step 5: Adding the Printer to Your Laptop
Now that the physical connection and network configurations are in place, it’s time to add the printer to your laptop.
For Windows Users:
1. Open the Settings menu and go to Devices > Printers & Scanners.
2. Click Add a Printer or Scanner.
3. If the printer doesn’t appear automatically, select The printer I want isn’t listed.
4. Choose Add a printer using an IP address or hostname, then input the printer’s IP address (e.g., 192.168.1.3).
5. Follow the prompts to complete the setup.
For Mac Users:
1. Go to System Preferences > Printers & Scanners.
2. Click the + button to add a new printer.
3. If the printer doesn’t appear in the list, select IP and manually enter the printer’s IP address.
4. Confirm the settings and click Add to finalize the connection.
Step 6: Testing the Connection
After setting up the printer, ensure it is working correctly:
- Open a document or photo on your laptop.
- Select Print, choose the printer from the list, and click Print.
- If the print job is successful, the connection is established.
Troubleshooting Common Issues:

Printer Not Detected:
- Double-check the IP addresses assigned to both the laptop and the printer. They must be within the same subnet.
- Ensure the Ethernet cable is properly connected and functional.
Driver Issues:
- Download and install the latest printer drivers from the manufacturer’s website.
- If you already have the drivers installed, try updating or reinstalling them.
Connection Timeout:
- Restart both the printer and the laptop.
- Check the network configuration for errors, such as typos in the IP address.
Printer Still Offline:
- Verify that the printer’s IP address is correct and consistent with your laptop’s network settings.
- Reset the network settings on the printer and repeat the configuration process.
Read More:http://Do The Tuff 2023 Laptops Still Have Manufacturer Warranty – What’s Covered and How to Claim!
Advantages of Direct Ethernet Connection:
- Reliability: Minimal interruptions compared to wireless connections.
- Cost-Effectiveness: No need for extra equipment like routers or switches.
- Versatility: Works well in areas without Wi-Fi or when dealing with older devices.
FAQ’s
1. Can I connect my printer to my laptop using just an Ethernet cable?
Yes, you can connect your printer to your laptop directly using an Ethernet cable by configuring both devices with compatible IP addresses. No router is needed for this setup.
2. What IP address should I assign to my printer and laptop?
Set your laptop’s IP address to 192.168.1.2 and the printer’s IP address to 192.168.1.3, ensuring both are within the same subnet (e.g., 255.255.255.0).
3. How do I add the printer to my laptop after connecting it via Ethernet?
In Windows, go to Printers & Scanners in Settings, and add the printer using its IP address. On a Mac, use Printers & Scanners in System Preferences and manually add it via the IP option.
4. What should I do if the printer is not detected by my laptop?
Check the Ethernet cable connection, ensure IP addresses are correctly configured, and confirm that the printer’s drivers are installed and up-to-date.
5. Do I need any special software or drivers for this setup?
Yes, you need the correct printer drivers installed on your laptop. Download them from the printer manufacturer’s website if they aren’t already installed.
Conclusion:
Connecting a printer to a laptop via an Ethernet cable without a router is a simple and efficient solution for many scenarios. This method is particularly useful in offices, temporary setups, or situations where wireless connectivity is unreliable. By following the steps outlined in this guide, you can establish a secure, fast, and reliable connection that will meet your printing needs without unnecessary complications.

