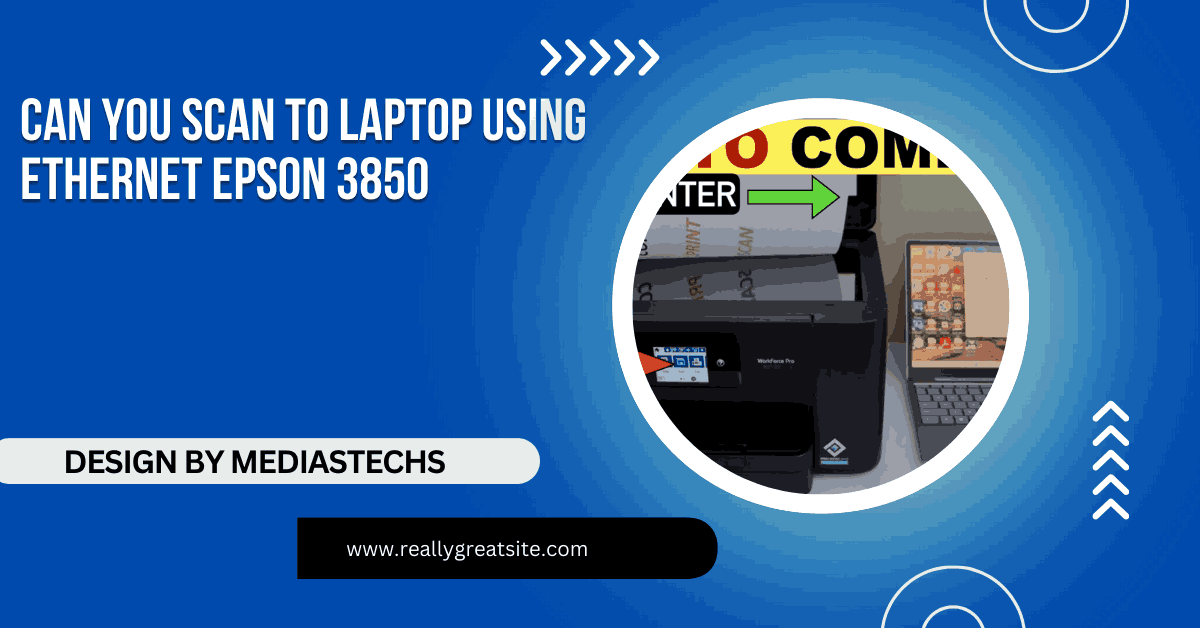
Can You Scan To Laptop Using Ethernet Epson 3850 – Step-by-Step Guide!
Scan to your laptop using Ethernet with the Epson 3850 for a stable connection. Learn setup steps and troubleshooting tips to optimize your experience.
In this article, we explain how to scan to a laptop using Ethernet with the Epson 3850. You’ll learn step-by-step setup instructions, troubleshooting tips, and how to optimize scanning performance. Discover the benefits of using Ethernet for stable and efficient document scanning.
Why Use Ethernet for Scanning?
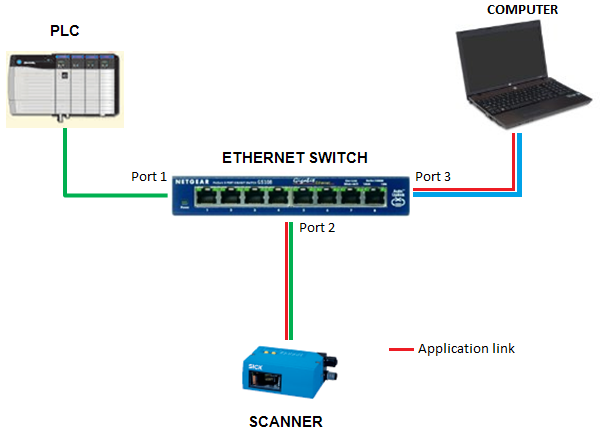
While Wi-Fi and USB are common choices for connecting printers and scanners, Ethernet offers unique advantages:
- Reliability: Ethernet connections are less prone to interference compared to wireless networks.
- Stability: A wired network ensures consistent connection quality, crucial for high-resolution scanning.
- Speed: Data transfer over Ethernet is often faster, especially in busy office or home network environments.
- Multi-Device Access: Using Ethernet allows multiple devices on the same network to access the Epson 3850’s scanning and printing features.
If you’re handling large files, high volumes of scans, or need a shared setup for multiple users, Ethernet is the ideal choice.
How to Set Up the Epson 3850 for Ethernet Scanning?
Setting up the Epson 3850 for Ethernet scanning involves a few straightforward steps. Let’s break it down:
1. Connecting the Epson 3850 to Your Network:
- Locate the Ethernet port at the back of the Epson 3850.
- Plug one end of an Ethernet cable into the printer and the other into your router or a network switch.
- Turn on the printer and navigate to its network settings via the control panel. Ensure it displays a “Connected” status.
2. Installing Necessary Drivers and Software:
For seamless scanning functionality, you need to install the correct drivers and software:
- Visit Epson’s official website.
- Search for the Epson 3850 model and download the latest Epson Scan 2 or Epson ScanSmart software.
- Install the downloaded software on your laptop, following the on-screen instructions.
Read More:http://Photos From Camera Are Too Orange – Here’s How to Fix It!
3. Configuring Network Settings:
To confirm your Epson 3850 is correctly configured:
- Access the printer’s control panel and view its network settings.
- Note the printer’s assigned IP address.
- On your laptop, open a command prompt or terminal and type ping <printer’s IP address> to check connectivity. If you receive responses, the connection is successful.
4. Adding the Scanner to Your Laptop:
- Open the Epson scanning software (Scan 2 or ScanSmart) on your laptop.
- Navigate to the “Add Scanner” or “Select Scanner” option.
- The software will search for available devices on your network. Select the Epson 3850 from the list.
- Confirm the connection by running a test scan.
Step-by-Step Guide to Scanning via Ethernet:
After setting up your Epson 3850, you’re ready to start scanning:
Step 1: Prepare Your Document
- Place the document or image on the scanner bed. Align it to the guides to avoid cropping.
- Alternatively, use the Automatic Document Feeder (ADF) for multi-page documents.
Step 2: Launch the Scanning Software
- Open the Epson Scan 2 or Epson ScanSmart application on your laptop.
- Ensure the Epson 3850 is selected as the active scanner.
Step 3: Configure Scan Settings
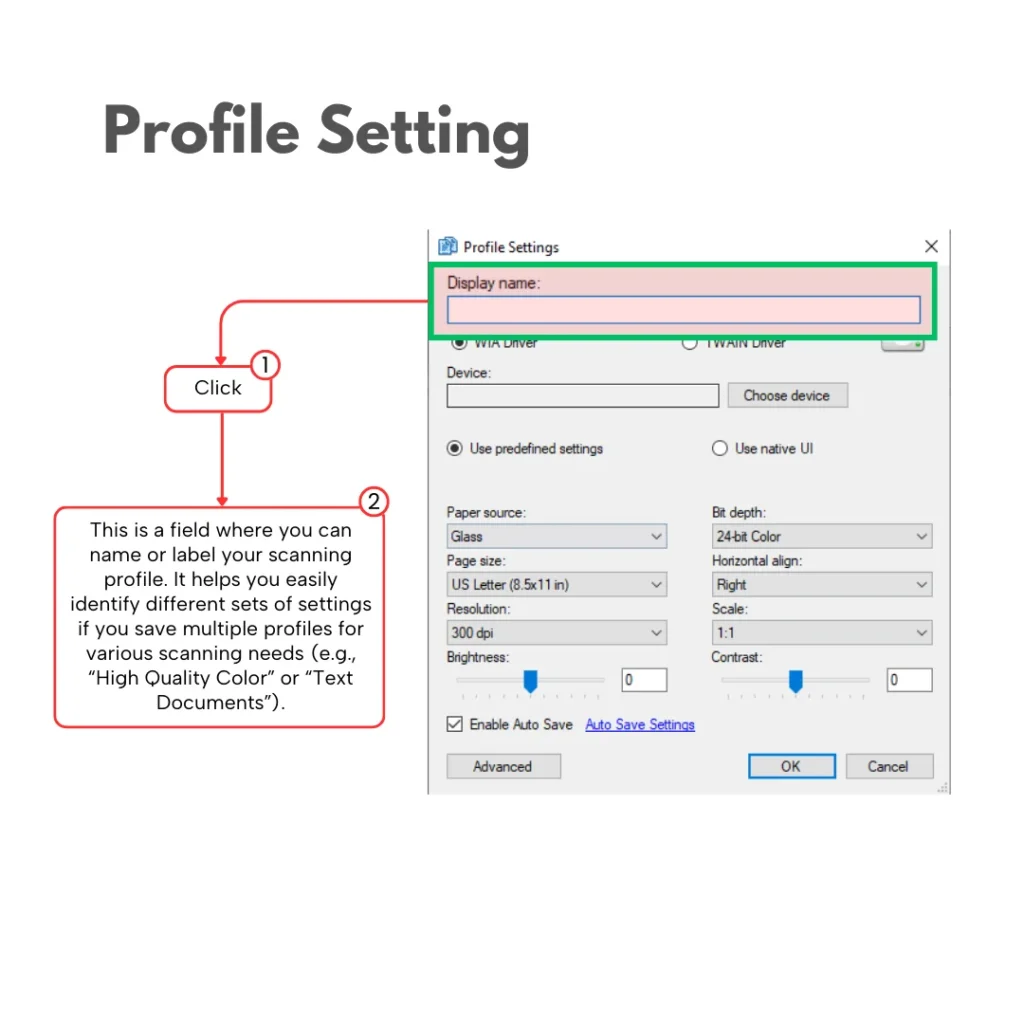
- Choose the type of scan: Document, Photo, or Custom.
- Adjust the resolution, color settings, and file format (e.g., PDF, JPEG, PNG). Higher resolutions yield better quality but result in larger file sizes.
- Specify the destination folder where the scanned file will be saved on your laptop.
Step 4: Start Scanning
- Click the “Scan” button to begin the process.
- Monitor the progress on your laptop screen. Once completed, you can view the scanned file in the designated folder.
Advanced Features for Ethernet Scanning:
The Epson 3850 offers additional functionalities that can enhance your scanning experience:
1. Automatic Document Feeder (ADF):
The ADF feature allows you to scan multiple pages in one go. This is especially useful for business documents and multi-page reports.
2. Duplex Scanning:
Save time and effort by scanning both sides of a document automatically. Configure this option in the scanning software.
3. OCR (Optical Character Recognition):
Epson ScanSmart includes OCR functionality, which converts scanned documents into editable text. This is ideal for digitizing printed records or creating searchable PDF files.
4. Network Folder Scanning:
If your laptop is part of a larger network, you can configure the Epson 3850 to scan directly to a shared network folder. This feature is accessible through the printer’s settings.
Troubleshooting Common Issues:
Even with a robust setup, you might encounter challenges. Here are solutions to common problems:
1. Printer Not Detected on the Network:
- Double-check that the Ethernet cable is securely connected.
- Restart your router and printer to refresh the connection.
- Ensure the printer’s IP address is within the same range as your network devices.
2. Scanner Not Recognized by Software:
- Verify that you’ve installed the correct drivers. Outdated drivers can cause recognition issues.
- Re-add the scanner in the software settings.
3. Slow Scanning Speeds:
- High-resolution scans take longer. Lower the resolution for faster processing.
- Ensure no other heavy network activities, such as file downloads, are slowing the connection.
4. File Format Issues:
- If you’re unable to open a scanned file, check the file format. Ensure your laptop has compatible software (e.g., a PDF reader for PDF files).
5. Connection Drops During Scanning:
- Test the Ethernet cable for damage or replace it with a higher-quality cable.
- Check if the router or switch has reached its device limit.
Benefits of Ethernet Scanning on Epson 3850:
- Improved Workflow: Ethernet’s stability ensures that large scanning tasks are uninterrupted.
- Enhanced Sharing: Multiple devices can access the scanner, ideal for offices or shared home setups.
- Reduced Interference: Unlike Wi-Fi, Ethernet is immune to interference from walls or electronic devices.
- Faster File Transfers: Ethernet allows quicker uploads of high-resolution scans, saving time during busy operations.
FAQ’s
- Can I connect the Epson 3850 to my laptop using Ethernet?
Yes, you can connect the Epson 3850 to your laptop via Ethernet by linking the printer to your network and configuring the scanning software.
- What software is required to scan using Ethernet?
You need the Epson Scan 2 or Epson ScanSmart software, which is available for free on Epson’s official website.
- Why is Ethernet scanning better than Wi-Fi?
Ethernet provides a more stable and faster connection, reducing interruptions during large or high-resolution scans.
- Can I scan directly to a network folder using Ethernet?
Yes, the Epson 3850 supports scanning directly to a shared network folder with proper configuration.
- What should I do if the scanner isn’t detected on my network?
Ensure the Ethernet cable is securely connected, check the IP address, and reinstall the scanning software if needed.
Conclusion:
Yes, you can scan to your laptop using Ethernet with the Epson 3850, and it’s an excellent option for users seeking a stable and efficient connection. By following the setup guide and tips in this article, you can unlock the full potential of Ethernet scanning and enjoy a smoother workflow for both personal and professional tasks.

