Can I Have My Laptop Be A Raspberry Pi Screen – A Step-by-Step Guide!
Learn how to use your laptop as a Raspberry Pi screen with methods like VNC, SSH, and HDMI capture cards. Get step-by-step instructions for an affordable setup!
In this article, we show you how to use your laptop as a screen for your Raspberry Pi with easy-to-follow methods like VNC, SSH, and HDMI capture cards. You’ll learn how to set up each method for seamless connectivity and screen display. Whether you’re looking for a portable or cost-effective solution, this guide covers all your options.
Section 1: Why Use a Laptop as a Raspberry Pi Screen?
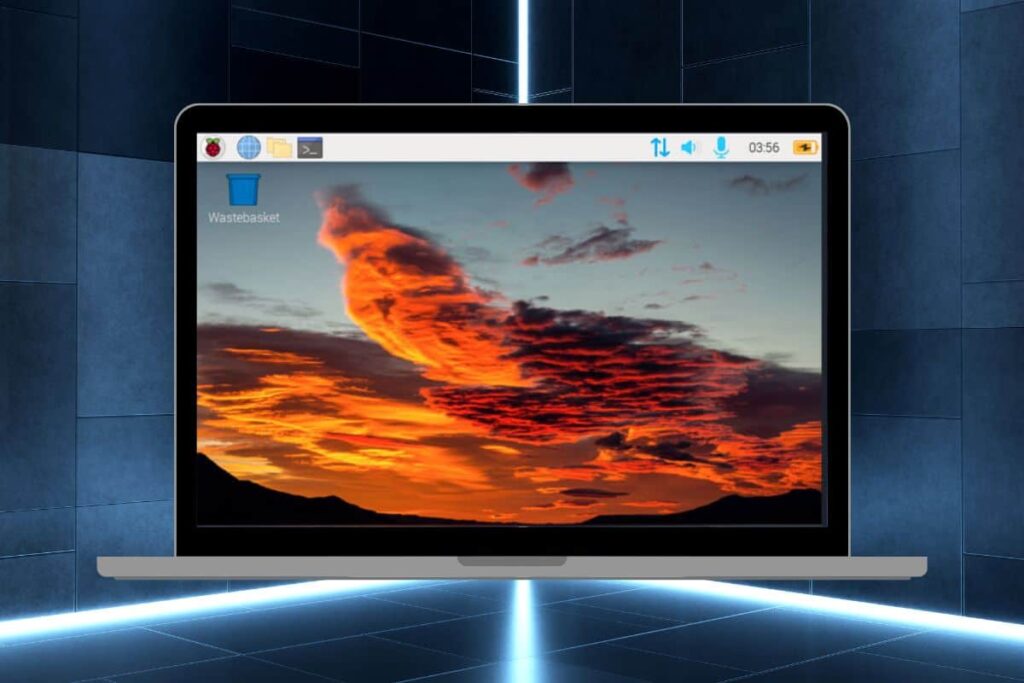
While you could connect your Raspberry Pi to a TV or dedicated monitor, using a laptop as a screen can be a more versatile solution. Here are some of the main reasons to consider it:
- Portability: If you’re traveling or setting up your Raspberry Pi project on the go, carrying around a bulky monitor isn’t ideal. Using a laptop means you can have a self-contained setup anywhere you have internet or a local network.
- Cost Savings: Monitors can be expensive, especially if you’re just using a Raspberry Pi for occasional projects or tinkering. Using your existing laptop screen avoids the extra expense.
- Space Efficiency: For those who may not have space for another monitor, using a laptop as a screen can make your Raspberry Pi setup compact and easy to manage.
By understanding the benefits, you can better assess if this is the right solution for you. Now, let’s dive into the methods available to connect a Raspberry Pi to a laptop.
Section 2: Understanding the Basics: How It Works
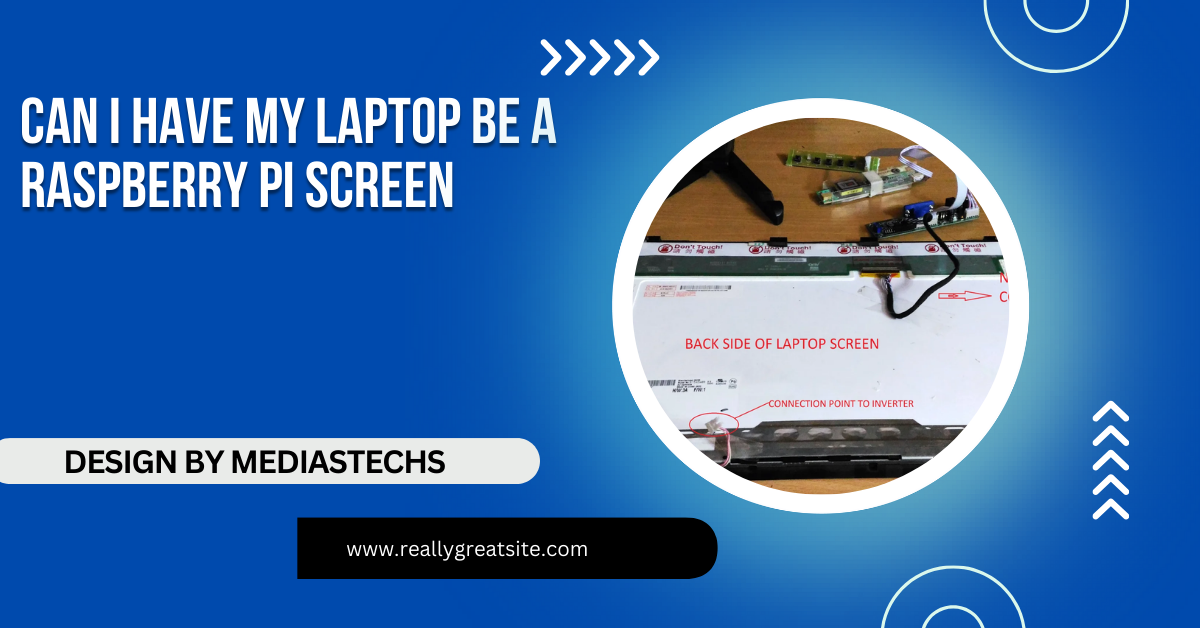
Laptops are not designed to act as external monitors, so you can’t directly plug your Raspberry Pi’s HDMI output into your laptop’s HDMI port. Instead, we’ll use software solutions like VNC (Virtual Network Computing) or SSH (Secure Shell), which allow you to remotely view or control your Raspberry Pi over a network.
Another method involves using an HDMI-to-USB capture card, which essentially converts HDMI input from the Raspberry Pi into USB video that can be viewed on your laptop. Each of these methods has its own pros and cons, and we’ll cover each one in detail.
Read More:http://How to Flash a OS on to a Laptop – A Comprehensive Step-by-Step Guide!
Section 3: Methods to Use a Laptop as a Raspberry Pi Screen
Option 1: Using VNC Viewer (Recommended for Desktop Access)
Overview: VNC (Virtual Network Computing) lets you access your Raspberry Pi’s graphical interface on your laptop. It’s one of the easiest and most widely-used options and works well as long as your Raspberry Pi and laptop are on the same network.
Steps:
Set Up VNC on Raspberry Pi:
- Boot up your Raspberry Pi and open the terminal.
- Run sudo raspi-config to open the configuration tool.
- Under Interface Options, select VNC and enable it.
- Install RealVNC Server on your Raspberry Pi if it isn’t pre-installed by running sudo apt install realvnc-vnc-server.
Install VNC Viewer on Your Laptop:
- Download and install VNC Viewer (RealVNC) on your laptop from the official RealVNC website.
- Open VNC Viewer and enter your Raspberry Pi’s IP address in the search bar. (You can find the IP address on the Raspberry Pi by running hostname -I in the terminal).
- Log in using your Raspberry Pi’s username and password, and you should see the Raspberry Pi’s desktop displayed on your laptop screen.
Pros:
- Full access to the Pi’s graphical desktop.
- Easy to set up, with minimal equipment required.
Cons:
- Relies on network stability; you may experience lag on slower connections.
- Limited video streaming quality for high-frame-rate activities (like gaming).
Option 2: Using SSH for Command-Line Access
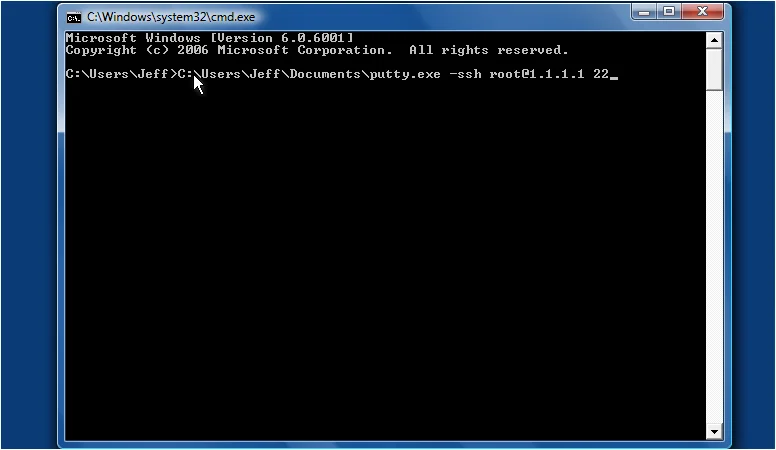
Overview: SSH (Secure Shell) allows you to connect to your Raspberry Pi from a laptop using the command line. This is a great option if you only need to control or program your Raspberry Pi without accessing its graphical desktop.
Steps:
Enable SSH on the Raspberry Pi:
- In the terminal, open the Raspberry Pi configuration by typing sudo raspi-config.
- Under Interface Options, select SSH and enable it.
Connect to the Raspberry Pi via SSH:
- On your laptop, open a terminal or command prompt.
- Type ssh pi@<Raspberry_Pi_IP_Address> (replace <Raspberry_Pi_IP_Address> with your Pi’s actual IP address).
- When prompted, enter the Raspberry Pi’s password.
Using SSH to Control the Pi:
- You’re now connected to your Raspberry Pi’s terminal and can run commands as if you were directly on the Pi.
Pros:
- Lightweight, reliable, and doesn’t require high bandwidth.
- Ideal for coding, updating software, and command-line management.
Cons:
- Command-line only—no access to the Pi’s desktop interface.
- Unsuitable for users who need a full visual display.
Read More:http://How Long Will A Video Player Last on a Laptop -Tips and Insights!
Option 3: Using an HDMI-to-USB Capture Card (For High-Quality Video)
Overview: HDMI-to-USB capture cards let you use a laptop as a direct HDMI display by capturing the video signal from your Raspberry Pi and transmitting it to your laptop over USB. This option is helpful if you need high-quality, real-time video but requires additional hardware.
Steps:
Connect Your Raspberry Pi to the Capture Card:
- Use an HDMI cable to connect your Raspberry Pi to the capture card.
Connect the Capture Card to Your Laptop:
- Plug the capture card into a USB port on your laptop.
- Open software on your laptop that can display the video signal, like OBS (Open Broadcaster Software).
View the Raspberry Pi Display on Your Laptop:
- Configure OBS or your preferred software to recognize the capture card as a video source, and you should see the Raspberry Pi output on your laptop screen.
Pros:
- Provides higher quality, real-time video display.
- Good for projects that require a full, smooth display, such as watching videos or running graphical applications.
Cons:
- Requires additional hardware (HDMI capture card).
- Higher latency compared to direct HDMI on a monitor.
Section 4: Troubleshooting Common Issues
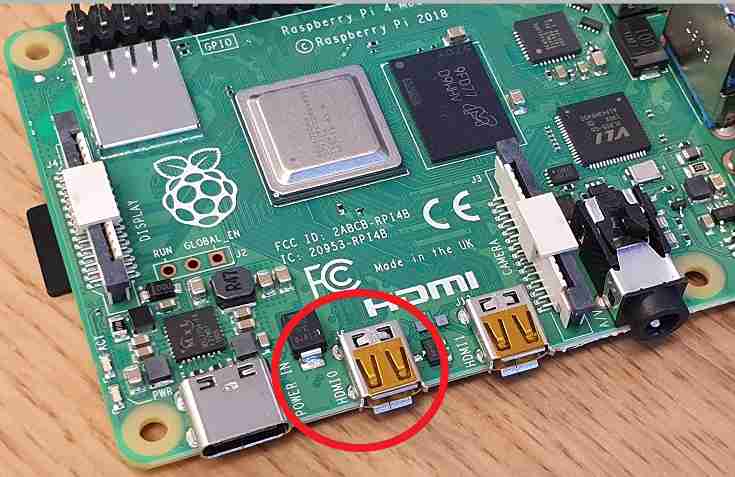
When using a laptop as a Raspberry Pi screen, you may encounter some common issues. Here’s how to resolve them:
- Network Lag: If you’re experiencing lag with VNC, check your network connection. For better performance, connect both your Raspberry Pi and laptop to the same router via Ethernet.
- Connection Errors: Sometimes, VNC or SSH connections fail due to IP address conflicts or incorrect login credentials. Double-check your Raspberry Pi’s IP address and verify the login details.
- Display Quality Issues: With capture cards, the video quality might not be HD or can appear delayed. Try adjusting settings in OBS to improve video quality and reduce latency.
FAQ’S Can I Have My Laptop Be A Raspberry Pi Screen:
1. Can I connect my Raspberry Pi directly to my laptop with an HDMI cable?
No, laptops can’t accept HDMI input directly; you’ll need to use software like VNC or an HDMI-to-USB capture card.
2. Is there a way to see the Raspberry Pi’s desktop on my laptop?
Yes, using VNC Viewer or similar software, you can view and control the Pi’s desktop remotely on your laptop.
3. Can I use my laptop screen for Raspberry Pi without an internet connection?
Yes, a direct Ethernet connection or offline VNC setup can allow access without Wi-Fi.
4. Will there be lag when using my laptop as a Raspberry Pi screen?
Some lag may occur, especially over VNC or with slower networks. Capture cards generally offer better video quality with minimal delay.
5. What’s the best method for high-quality video on my laptop from Raspberry Pi?
An HDMI-to-USB capture card provides the best video quality and is ideal for smooth visuals, though it requires extra hardware.
Conclusion:Can I Have My Laptop Be A Raspberry Pi Screen!
Using a laptop as a Raspberry Pi screen is not only feasible but can also be practical and cost-effective with the right setup. Whether you choose VNC for easy remote access, SSH for command-line work, or an HDMI capture card for full-quality video, there’s an option for every project and need. Experiment with these methods, and enjoy the flexibility of a laptop-based Raspberry Pi setup!

