Build Your Own Laptop – An In-Depth Guide!
Learn to build your own laptop with this step-by-step guide! Customize components, optimize performance, and save money while creating a device tailored to your needs.
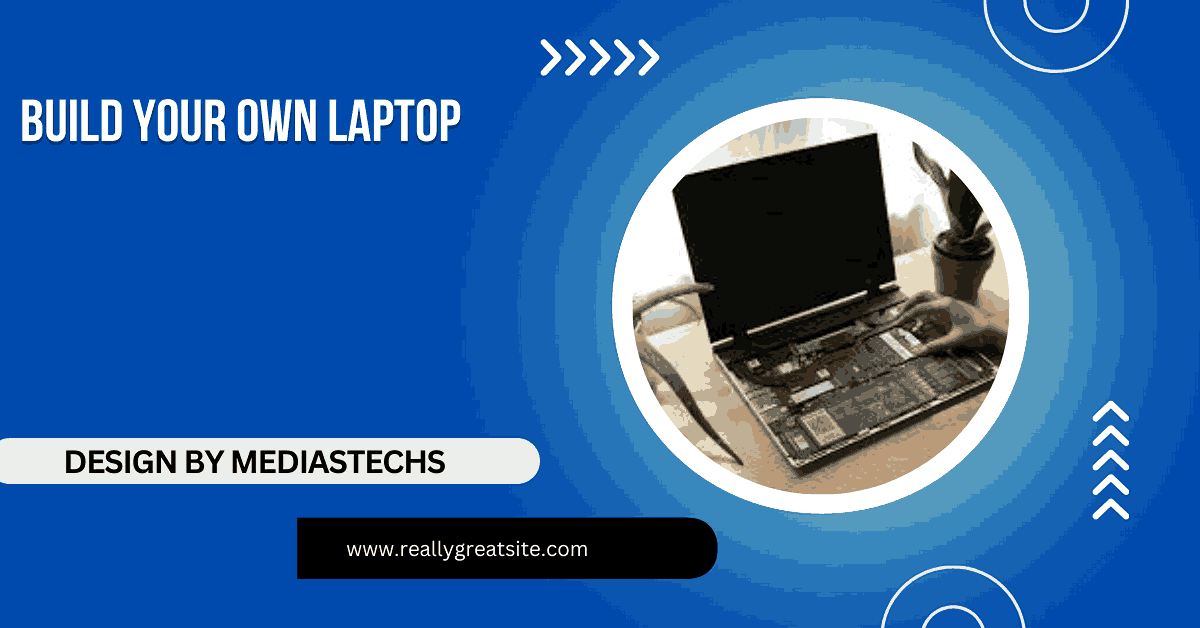
In this article, we guide you through building your own laptop step-by-step, from selecting compatible components to assembly and testing. Learn how to customize for performance, save money, and create a device tailored to your needs. Whether for gaming, work, or general use, this guide simplifies the process!
Why Build Your Own Laptop?
Customization:
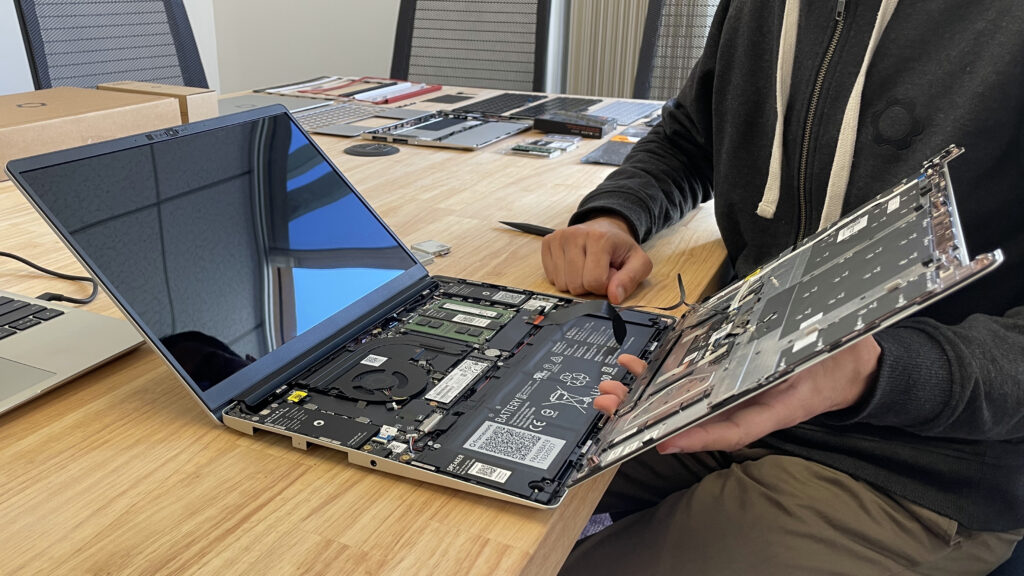
- Unlike pre-built laptops, you have full control over the components you choose, ensuring your laptop is perfectly suited to your needs. For instance, gamers can prioritize powerful GPUs, while professionals might opt for larger SSDs and higher RAM.
Cost-Effectiveness:
- Avoid paying for unnecessary features or brand premiums. By selectively investing in components, you can build a high-performing laptop at a reasonable cost.
Learning Experience:
- Assembling a laptop is a hands-on way to understand how hardware works together. This knowledge can be invaluable for troubleshooting and future upgrades.
Upgrade Potential:
- Pre-built laptops often have limited upgrade options, while a custom-built laptop can accommodate future improvements, saving you money in the long run.
Read More:Do Laptops Have Trackers During Delivery – A Complete Guide to Tracking Your Package
Eco-Friendly Approach:
- Reduce electronic waste by reusing parts and upgrading only what’s necessary. This sustainable approach helps the environment while keeping your laptop up-to-date.
Key Components Needed:
1. Laptop Barebone Kit:
- The foundation of your laptop, including the chassis, cooling system, and motherboard. Barebones kits often have pre-installed components like heat sinks and fans. Ensure compatibility with other parts.
2. Processor (CPU):
The CPU is the brain of your laptop. Choose wisely based on your needs:
- Intel Core i5/i7: Ideal for general use and moderate gaming.
- AMD Ryzen 5/7/9: Known for multi-threading, excellent for multitasking and creative applications.
- Intel Core i9 or AMD Ryzen 9: For high-end gaming or intensive tasks like 3D rendering.
3. Memory (RAM):
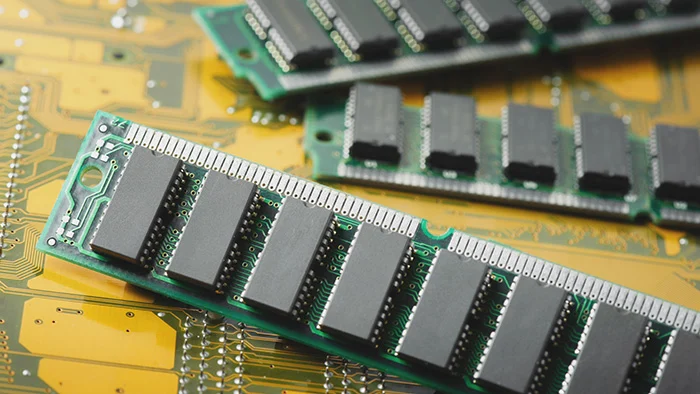
RAM affects how smoothly your laptop runs multiple applications.
- 8GB: Basic tasks like browsing and document editing.
- 16GB: Gaming or light video editing.
- 32GB or more: Professional video editing, 3D modeling, or other intensive workloads.
4. Storage:
Speed and capacity are key considerations:
- SSDs (Solid-State Drives): Faster boot times and data transfer rates. Recommended for primary storage.
- HDDs (Hard Disk Drives): Budget-friendly and larger capacity, good for secondary storage.
5. Graphics Card (GPU):
A dedicated GPU is essential for gaming or creative tasks like video editing and 3D modeling:
- NVIDIA GeForce RTX series: Excellent for gamers.
- AMD Radeon RX series: Budget-friendly yet powerful options.
6. Display:
Consider screen size, resolution, and type:
- Full HD (1920×1080): Standard for general use.
- 4K (3840×2160): Best for professionals needing high resolution.
- OLED screens: Offer vibrant colors and deeper contrasts.
Read More:Do High Schools Give You Laptops – A Complete Guide!
7. Battery:
- The battery should balance portability and longevity. Choose one with a capacity (measured in watt-hours) that suits your usage style.
8. Operating System (OS):
Select an OS based on your requirements:
- Windows: Versatile and user-friendly.
- Linux: Open-source and highly customizable.
- macOS: Only applicable with Apple hardware.
9. Additional Accessories:
- Include a keyboard, touchpad, Wi-Fi card, webcam, and cooling pad, depending on your requirements.
Step-by-Step Assembly Guide:
Step 1: Plan and Research
- Identify the purpose of your laptop (gaming, productivity, etc.). Create a compatibility chart for your components, ensuring seamless integration.
Step 2: Secure the Barebone Kit
- Start with a quality kit that accommodates your planned components. Check for cooling system efficiency and port availability.
Step 3: Install the Processor
- Open the CPU socket, align the notches on the processor, and secure it. Apply a small amount of thermal paste and attach the cooler.
Step 4: Insert RAM Modules
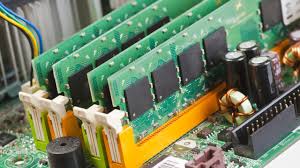
- Push RAM sticks firmly into the slots until they click. Follow dual-channel guidelines for enhanced performance.
Step 5: Attach Storage Drives
- Use mounting brackets for HDDs or SSDs and connect them via SATA or NVMe slots.
Step 6: Mount the Display
- Carefully align and attach the screen to the chassis. Secure connections with ribbon cables and screws.
Step 7: Add the Battery
- Fit the battery into its compartment and connect it to the motherboard. Double-check for snug placement.
Step 8: Connect Peripherals
- Attach the keyboard, touchpad, and other essential components. Manage cables neatly to avoid tangling.
Step 9: Install the Operating System
- Boot using a USB drive or installation disc. Follow the prompts to complete the OS setup.
Read More:Do Brand New Laptops Have Trackers During Transition – A Comprehensive Guide to Device Security!
Step 10: Final Testing and Configuration
- Power on the laptop, update all drivers, and run stress tests to verify performance and thermal stability.
Pro Tips for a Smooth Build:
- Use Anti-Static Precautions: Wear an anti-static wristband and work on an anti-static mat to protect sensitive components.
- Organize Tools and Components: Lay out everything you need before starting to avoid interruptions.
- Double-Check Compatibility: Cross-reference specifications to prevent purchasing mismatched parts.
- Take Your Time: Rushing can lead to mistakes. Read manuals and proceed methodically.
- Leverage Online Resources: Platforms like YouTube, Reddit, and tech forums offer valuable tutorials and troubleshooting tips.
Advantages of Building Over Buying:
- Tailored Performance: Focus on features you value most, whether it’s speed, graphics, or storage.
- Cost Efficiency: Avoid unnecessary software or hardware bundles.
- Upgradeable Design: Adapt your laptop to future needs without discarding the entire system.
- Environmentally Conscious: Reuse components to minimize e-waste.
Challenges and How to Overcome Them:
- Compatibility Issues: Use compatibility tools like PCPartPicker to verify that your components work together.
- Higher Initial Costs: Building a high-quality custom laptop might be more expensive upfront but saves money in the long term.
- Steep Learning Curve: Beginners might find the process intimidating, but online guides and community forums can ease the way.
FAQ’s
1. What components do I need to build a laptop?
You need a barebone kit, CPU, RAM, storage, GPU, display, battery, and an operating system.
2. Is it cheaper to build a laptop than to buy one?
Building a laptop can be more cost-effective in the long term as you avoid paying for unnecessary features and focus on quality components.
3. Can I upgrade a custom-built laptop later?
Yes, custom-built laptops are generally more upgradeable compared to pre-built ones, allowing you to swap out or enhance components.
4. Do I need technical knowledge to build a laptop?
Basic knowledge of computer hardware is helpful, but with detailed guides and tutorials, beginners can successfully build a laptop.
5. How long does it take to assemble a custom laptop?
The assembly process usually takes a few hours, depending on your experience and the complexity of the build.
Conclusion:
Building your own laptop is an exciting and empowering project. It provides the ultimate flexibility, allowing you to create a device that perfectly fits your needs while saving money and contributing to sustainability. While it might require patience and effort, the rewards are well worth it. With the right tools, resources, and determination, you can build a laptop that’s not only functional but uniquely yours. Start your journey today, and enjoy the satisfaction of using a machine built with your own hands!

